


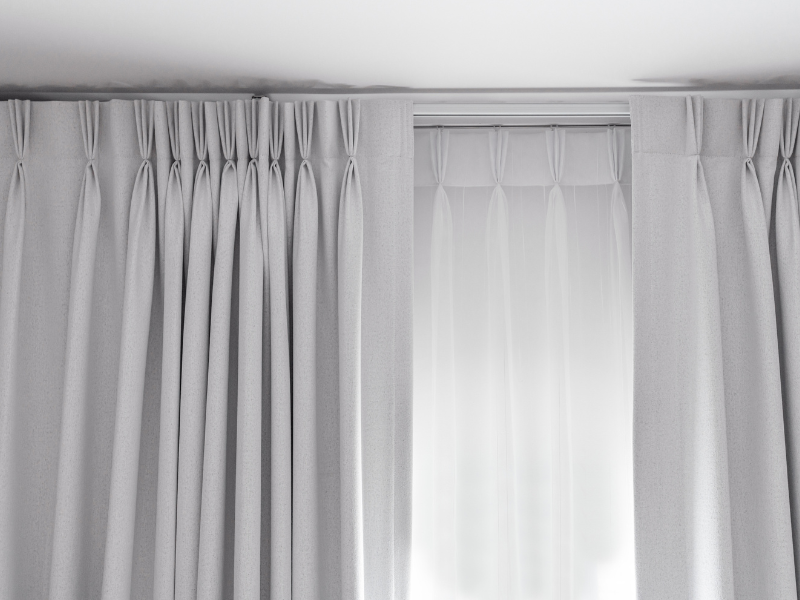

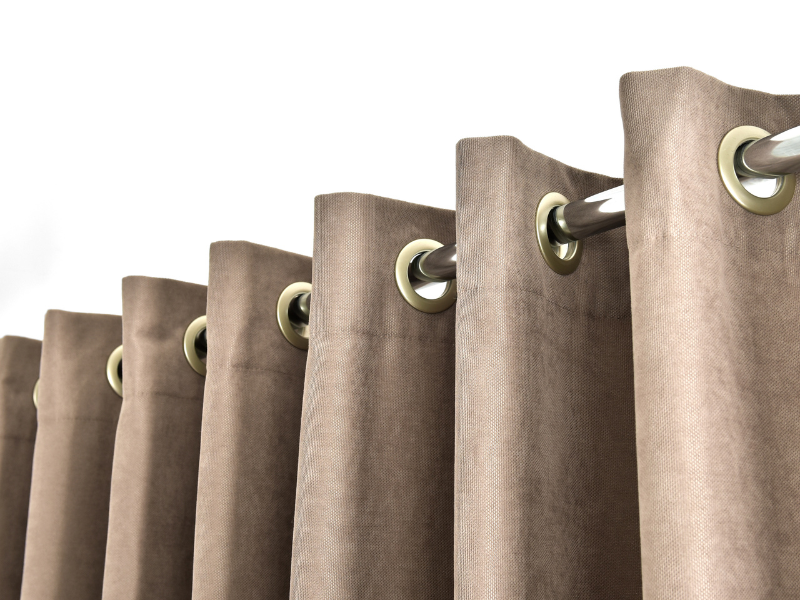

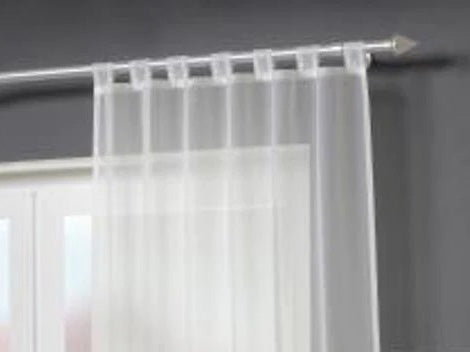

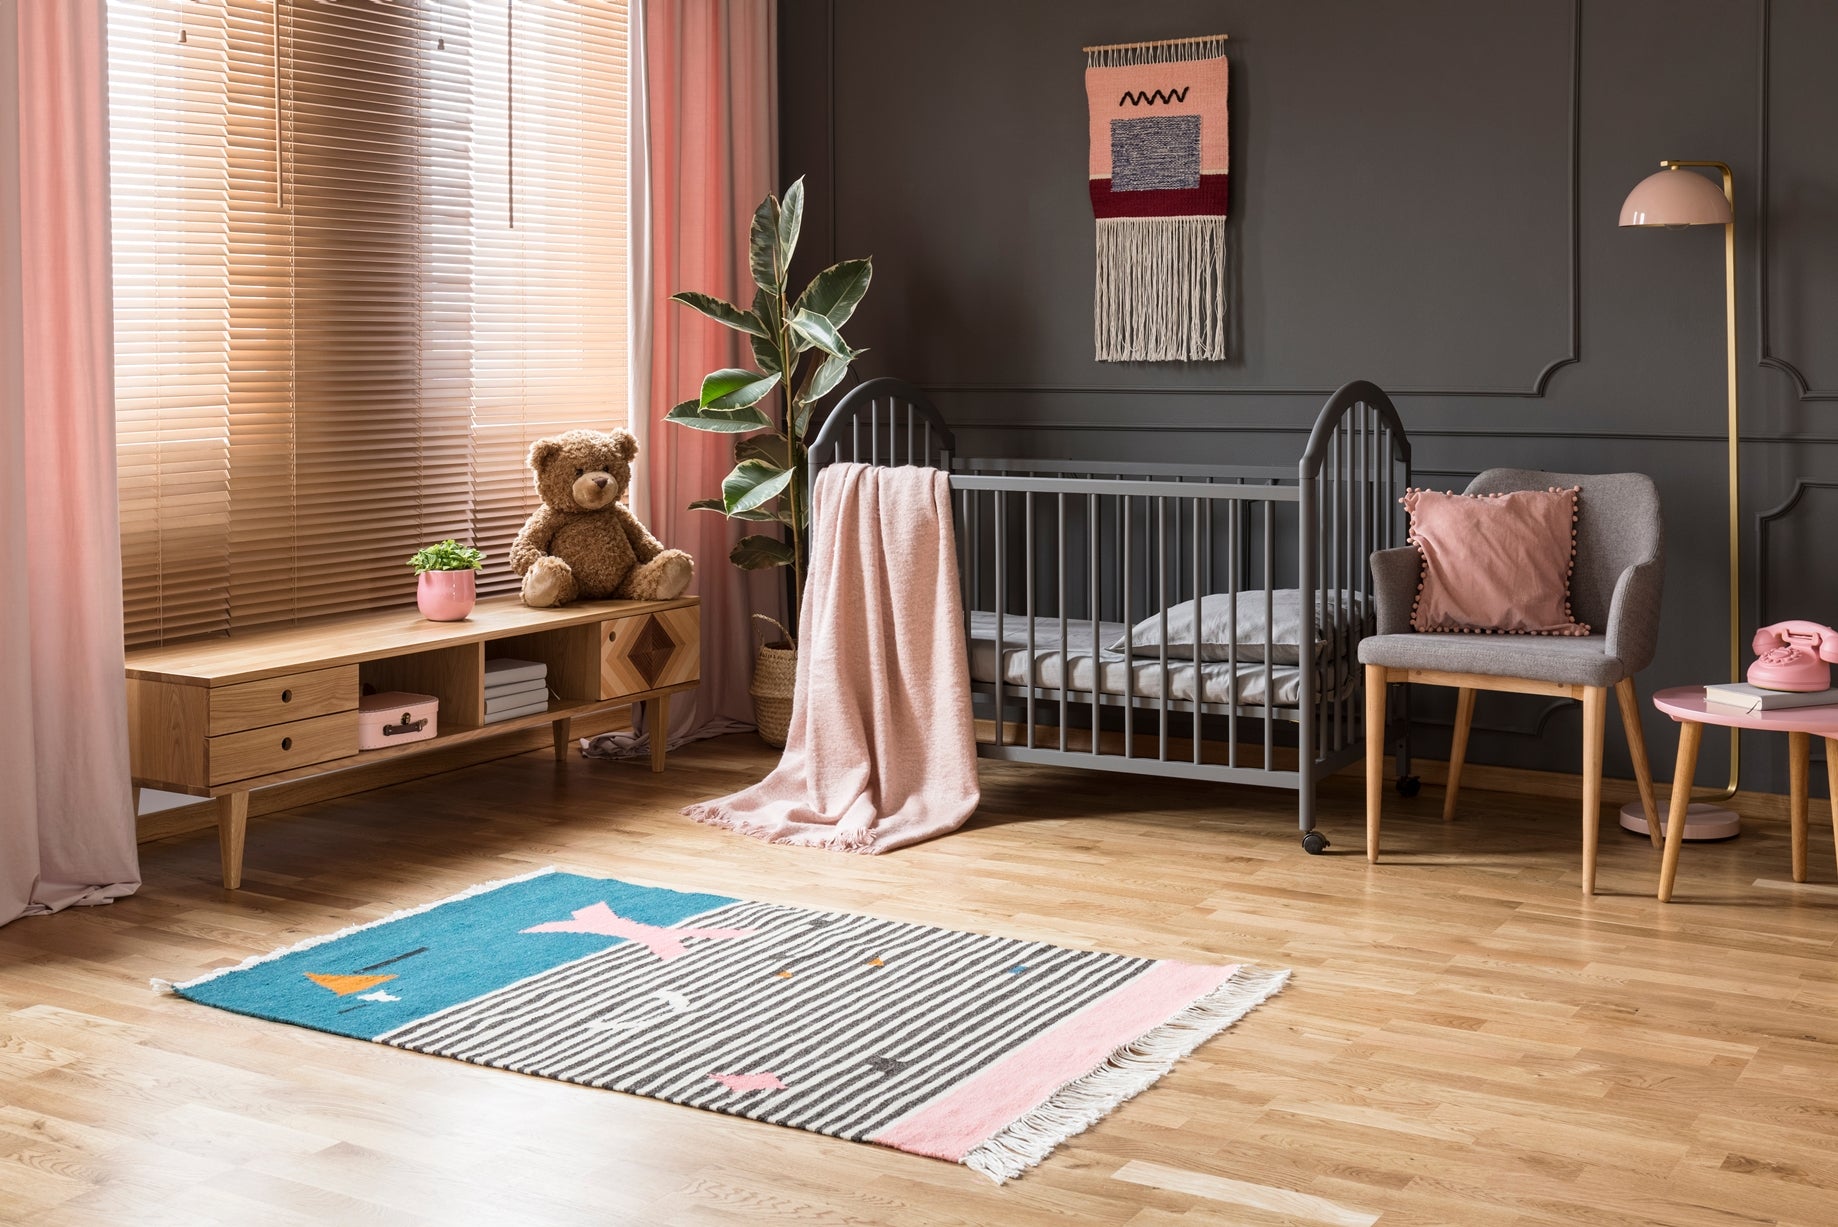


Curtains frame every room and contribute significantly to its design. They not only create a cozy atmosphere but also provide privacy and protection from sunlight. But what can you do if your curtains are too long? In this blog post, you'll learn how to shorten your curtains yourself using two simple methods, restoring a harmonious ambiance to your room.
Why should you shorten your curtains?
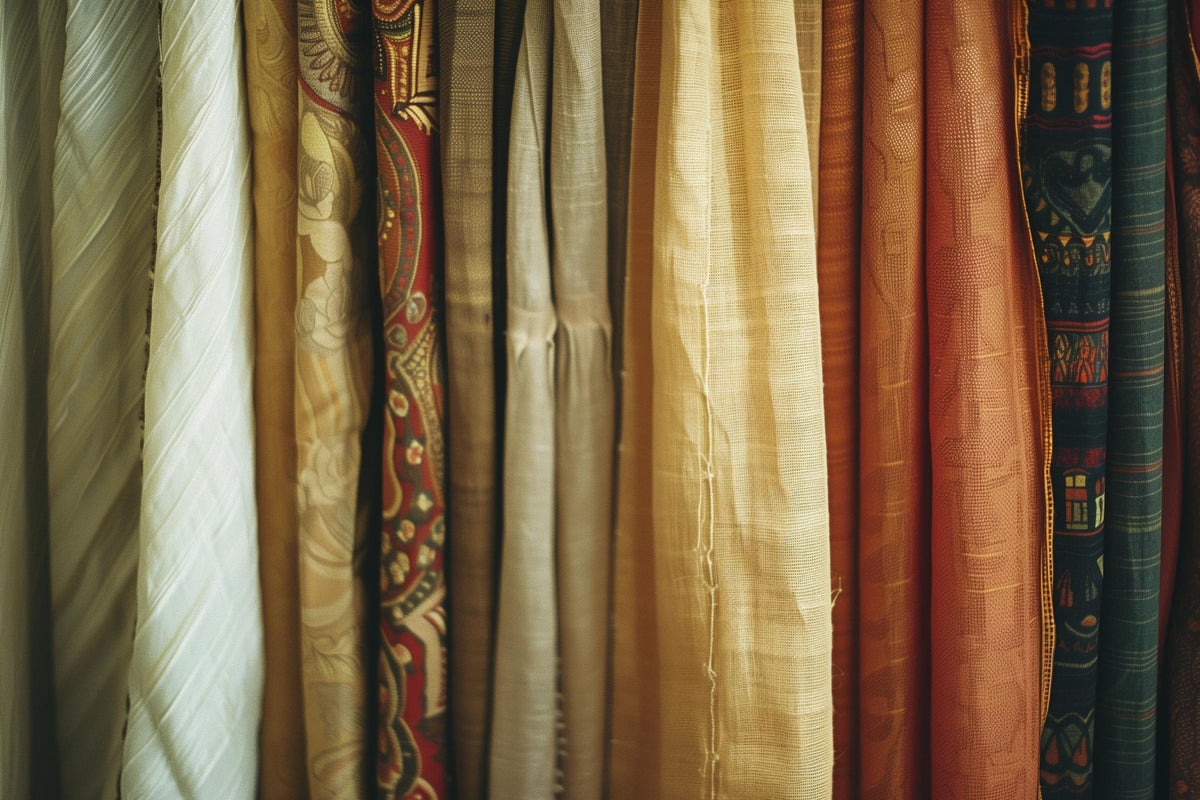
Curtains are an essential element of any apartment or house. Once you've purchased the perfect curtains to match the room 's style, color scheme, and budget, there's often a catch: either the windows aren't the standard size, or the curtains are simply too long. Shortening the curtains allows you to create a cozy atmosphere while also ensuring more consistent air circulation between the walls and the curtains.
How can you shorten your curtains?
Shortening curtains is easier than you might think. You don't need to be an experienced sewing expert to master this task. Take a little time and simply follow one of our two 5-point step-by-step guides. With a few tools and materials, you'll have your curtains shortened to the perfect length in no time.
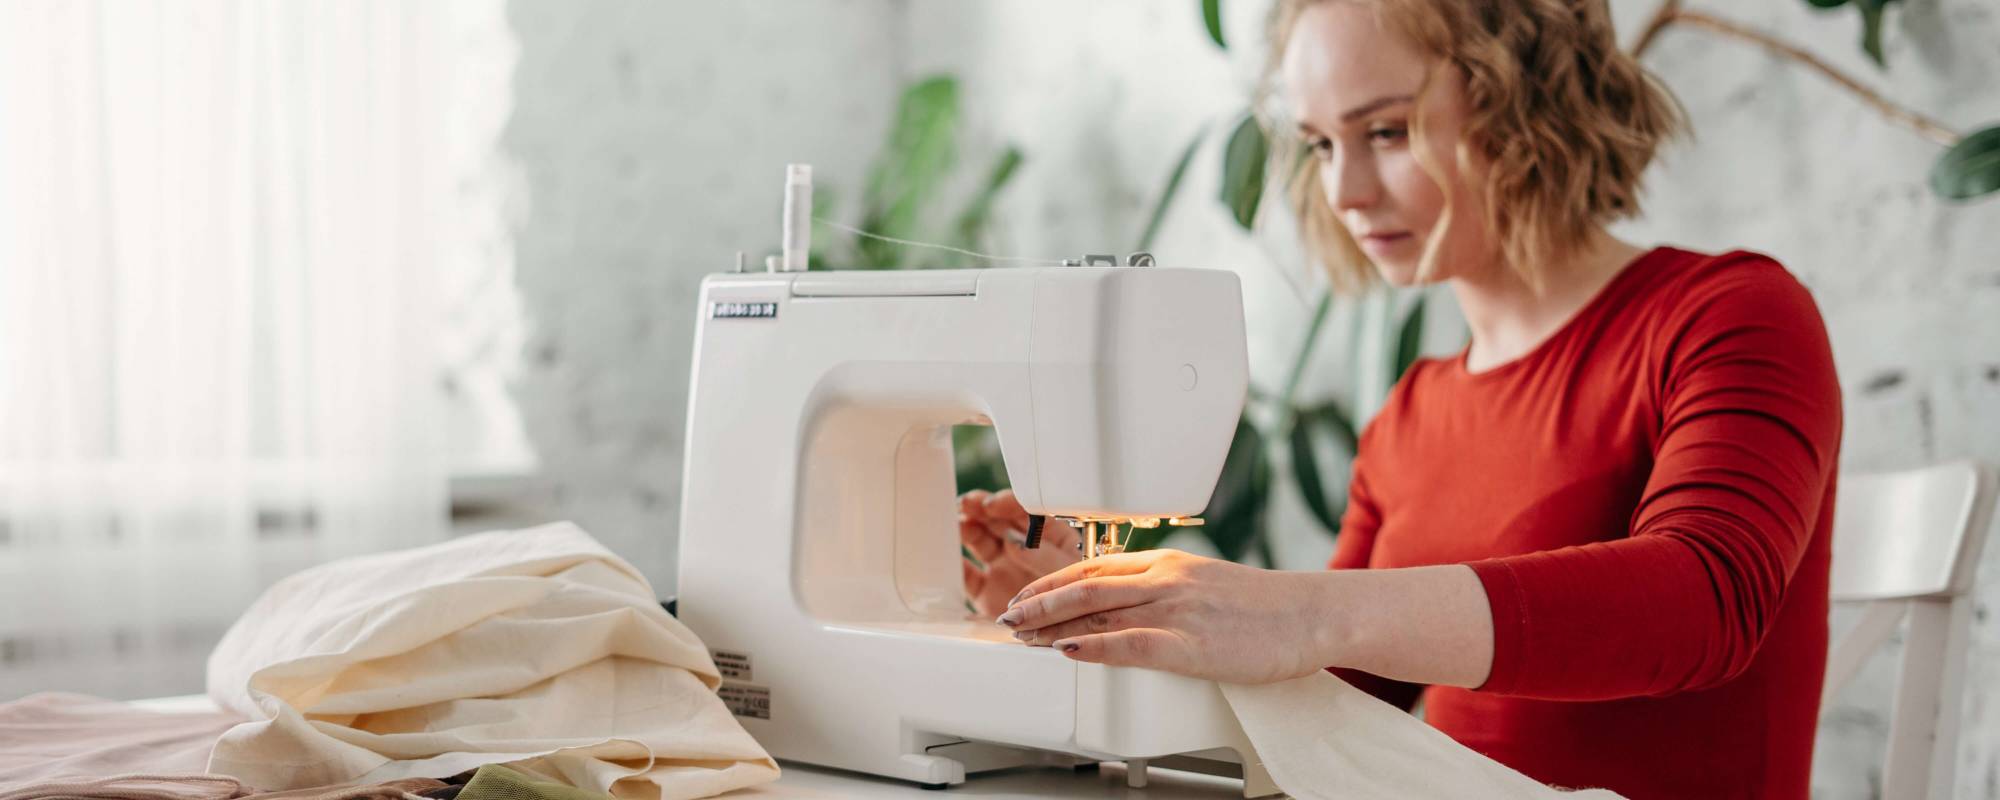
Option 1 - Shortening curtains in five steps with some sewing experience
To shorten your curtain, make sure you have all the necessary materials. These would be:
- tape measure or alternative measuring device
- Tailor's chalk, pencil or pins
- Tailor's scissors or scissors with a sharp blade
- sewing machine or sewing thread
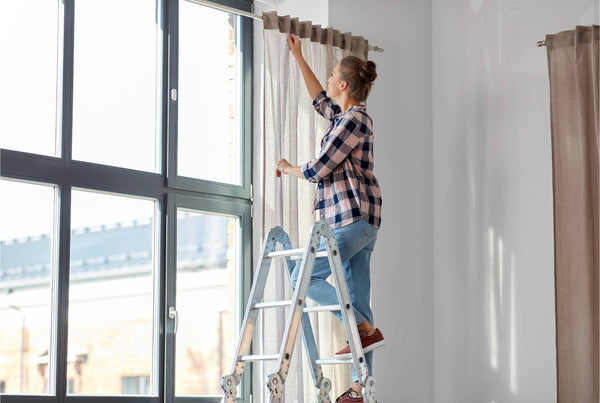
Step 1: Hang the curtain and measure it
Before you begin shortening your curtain, you should first hang it up and measure it. Determine the desired length of the curtain and mark this point with tailor's chalk, a pencil, or pins. You can find a video tutorial and practical tips on how to measure your curtains correctly on our information page "Measuring Guide" under " Measuring Curtains Correctly ".
Step 2: Remove the curtain and place it on top
Next, remove the curtain from the rod and lay it on a smooth surface, such as a table or another clean surface. Make sure the curtain is spread out smoothly and has no creases.
Step 3: Shortening the curtain
Now you can cut the curtain along the marked line. It's best to use tailor's scissors or regular scissors with a very sharp blade. Cut carefully and make sure the cut edge is straight.
Step 4: Sewing the edges
To prevent the cut edges from fraying, they should be sewn afterwards. It's best to use a sewing machine and suitable thread for this. Sew the edges with a straight stitch and make sure the seams are neat and even.
Step 5: Rehang the curtain
Finally, hang the curtain back on the rod. Adjust the length of the curtain to the marked point and make sure it hangs smoothly and without wrinkles.
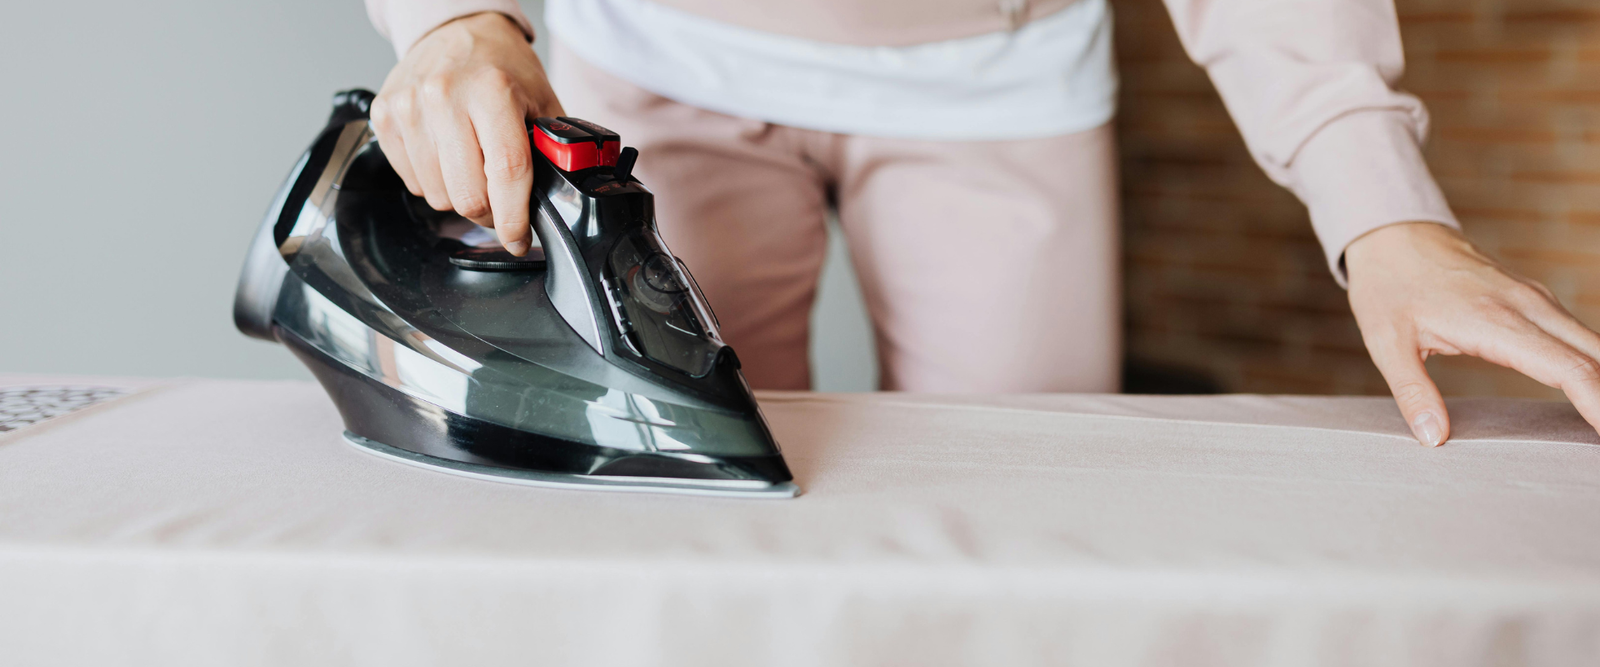
Option 2 - Shorten curtains in five steps without sewing
Please note that the following instructions are best suited for thin or lightweight fabrics. If you want to shorten thicker or heavier curtains, we recommend using a sewing machine. To perform this method, you will need:
- tape measure or alternative measuring device
- Tailor's chalk, pencil or pins
- Tailor's scissors or scissors with a sharp blade
- an ironing board
- Iron-on tape color-matched to the curtain
Step 1: Measure and mark the desired length
Similar to the first method, shortening curtains without sewing should also begin with accurately measuring your curtain. Measure the desired length and mark this point with a pen or pins.
Step 2: Spread the curtains out on the ironing board
Lay the curtain on the ironing board and smooth it out. Position the iron-on tape at the marked spot, with the sticky side of the tape facing upwards.
Step 3: Attach the iron-on tape
Iron the tape onto the curtain using medium heat to activate its adhesive. Ensure the tape is firmly adhered to the curtain fabric.
Step 4: Take scissors
Take your scissors and cut the curtains right next to the iron-on tape. Be careful not to damage the tape.
Step 5: Completion
Remove the iron-on hemming tape from your curtain and place it back on the ironing board. Iron the edges of the tape one last time to ensure it adheres firmly to the curtain fabric . Now hang up your newly shortened curtain and enjoy the new look of your room!
General tips for shortening curtains
- Always use clean scissors with sharp blades when shortening curtains.
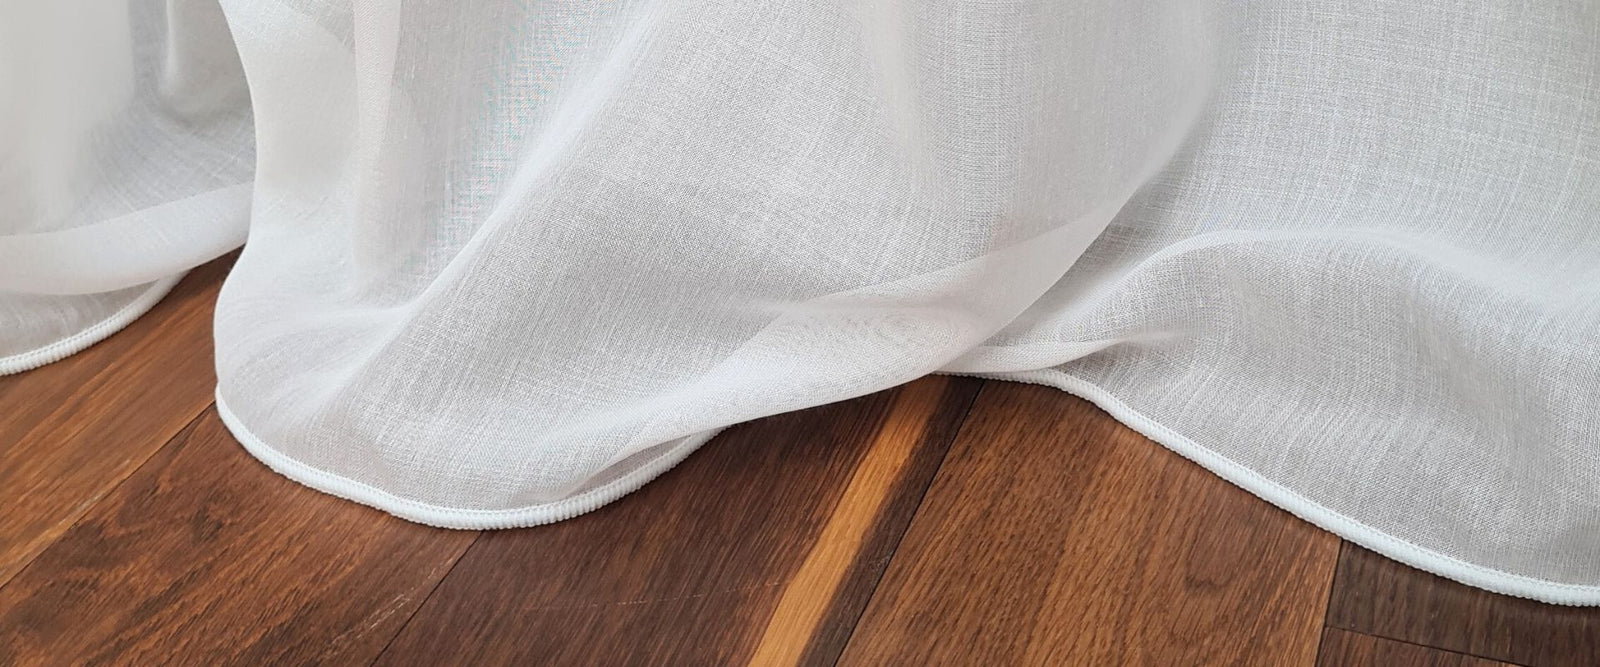
- Always use a sturdy and durable fabric to ensure that the curtains do not fray after being shortened.
- If you are unsure whether you are shortening the curtains correctly, you can first cut them a little longer and then shorten them further as needed.
- Keep in mind that shortening curtains may also affect their functionality, for example if they are cut too short and can no longer be fully closed.
Conclusion
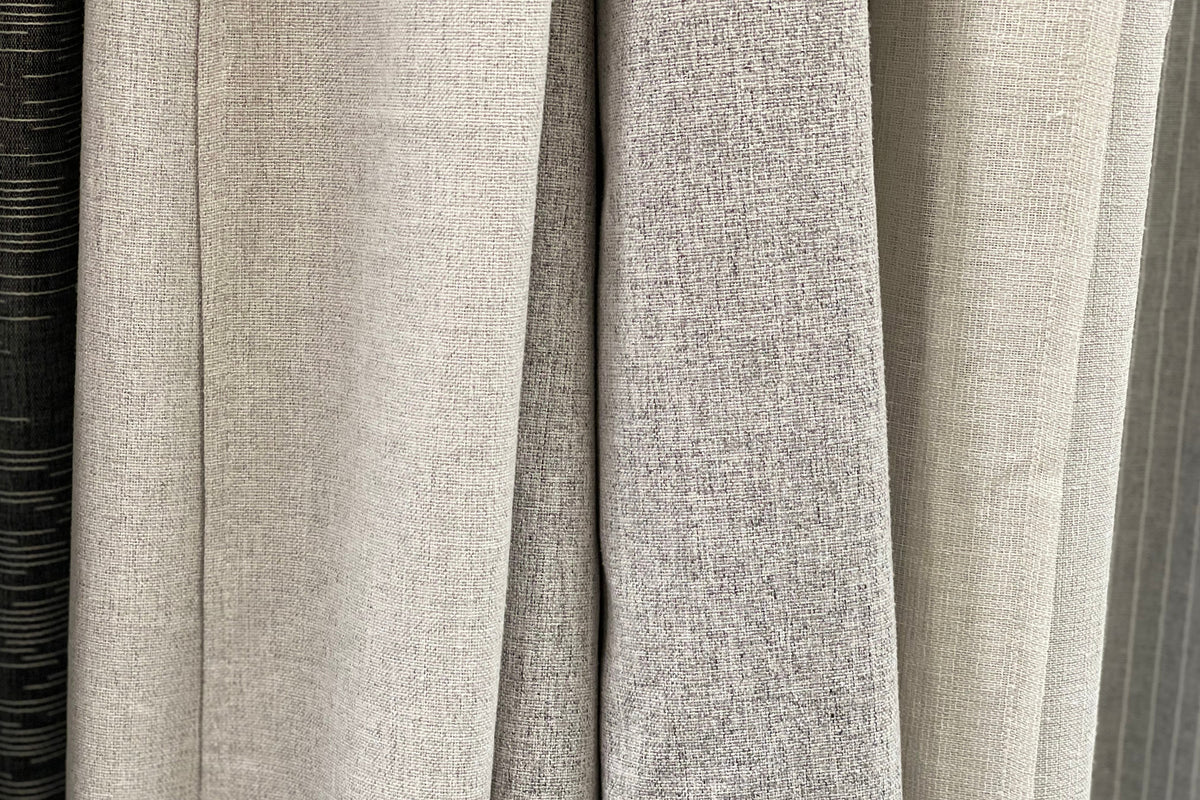
Shortening curtains is a simple and quick way to refresh the look of your room. With the steps and tips mentioned above, you can easily shorten your curtains yourself and make your living space even cozier and more inviting. However, an important factor when shortening curtains is choosing the right fabric. Some fabrics are better suited for shortening than others. Shortening curtains made of very thin fabric can cause them to fray quickly. Therefore, always choose a robust and durable fabric if you plan to shorten curtains yourself.
Would you prefer to buy custom-made curtains instead of shortening them yourself?
Feel free to browse through our collections of high-quality, custom-made curtains, tailored to the millimeter to fit your windows.